How to generate Tianzi grid in word document
- 青灯夜游Original
- 2021-03-17 15:58:45196690browse
How to generate a field grid from a word document: 1. Open the word document and click "Insert" - "Table"; 2. Select a table with two rows and two columns in the pop-up window; 3. Select the table and right-click Click to select "Borders and Shading"; 4. Select "Custom" in the dialog box that opens, remove the lines in the table, replace them with dotted lines, and click "OK".

The operating environment of this tutorial: Windows 7 system, Microsoft Office word 2010 version, Dell G3 computer.
How to generate Tianzi grid from a word document:
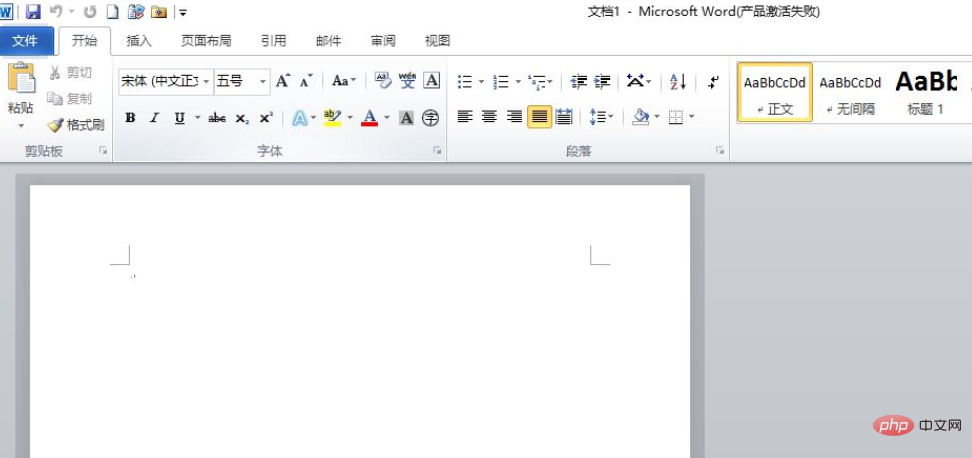
First open the word document.

Select "Insert" - "Table" in the word document, and select a table with several rows and columns in the pop-up window. Here, select two rows and two columns.
After selecting, a table will appear in the blank document.
Then select the table, right-click and select "Borders and Shading"
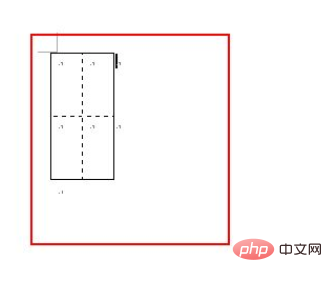
In the dialog box that opens Select "Custom", remove the lines in the table, replace them with dotted lines, and then click OK.
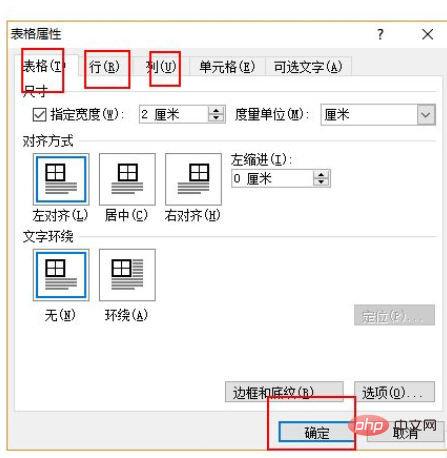
Then we select the list, right-click and select "Table Properties"
Set the width and height of rows and columns in the table properties dialog box, then click OK, and a field grid will be created.


Recommended tutorial: "Word Tutorial"
The above is the detailed content of How to generate Tianzi grid in word document. For more information, please follow other related articles on the PHP Chinese website!


